This project took me a couple of weeks to complete as I could only work a few hours in the evening after everyone finally went to bed! The photographs do not do it justice but you get the idea.... I very much enjoyed this project although the cover wasn't exactly what I had in mind but since I don't plan in advance and tend to just start when the inspiration takes me I didn't have any baby papers and this one was the closest to the colours I used inside.
The hinges, the keyhole and the closure straps are all cut out of grunge board which was stamped in "walnut" distressed ink and embossed first with thick embossing powder and then embossed a second time with holographic powder. The keys are from a job lot I ordered from china some weeks ago. The book plate is from the Tim Holtz range.
The papers below are called "Daytime Digits" from the range of "My Mind's Eye" an american company. The baby die cut is from the sizzix range.
For the first page I printed "a smile is the key that unlock everyone's heart" on acetate. I wanted to use white but found out that my printer doesn't print white (never thought of it before!) so I went for black instead.
The word die cut is another sizzix die. I love their bigz dies
as they cut throught so many different medias. I cut it out of white
card and inked it to match the background colours.
For this one I matted the photo on light blue polka dot paper and then on brown card. I cut the edges with my "hearts" Fiskars border punch. i stamped "moments magiques" in light blue and applied glossy accents to the cut out.
The large tag was cut out with the Sizzix bigz L die "tag and bookplates" from the movers ans shapers range. I then stuck a lunch money envelop on it and decorated it with papers and a stamped image which says "simply magical". The stamp is from Artemio. I purchased it during my last trip to France.
This is the flip side of the tag. This tome I made a mini envelop in light blue card and added a small tag inside. This can be used as another photo mat.
I love this photo and I didn't want to do to much to the page to dsitract from it so I just inked a doillie in blue and added tha lace trim under another stamped image. Again I think this stamp is from the Artemio range.
For this page I matted the photo on blue card which I had punched around the edge with my Fiskars punch (as above) . I added a stamped label and gloss it with glossy accents. For the embellishments I chose a small blue acrylic flower and a small bow to which I attached a small plastic dummy.
Another large tag, this one was left blank for my friend to add a photo or journalling. On the reverse side I included a mini envelop where more detailing can be added.
Again the photomat for this page was punched with a Fiskars border punch. I drew the onesie and added miniature buttons from my stash. The bow at the top is a market buy to which I attached a dummy metal charm. I also stuck a baby bottle on the page with pva glue.
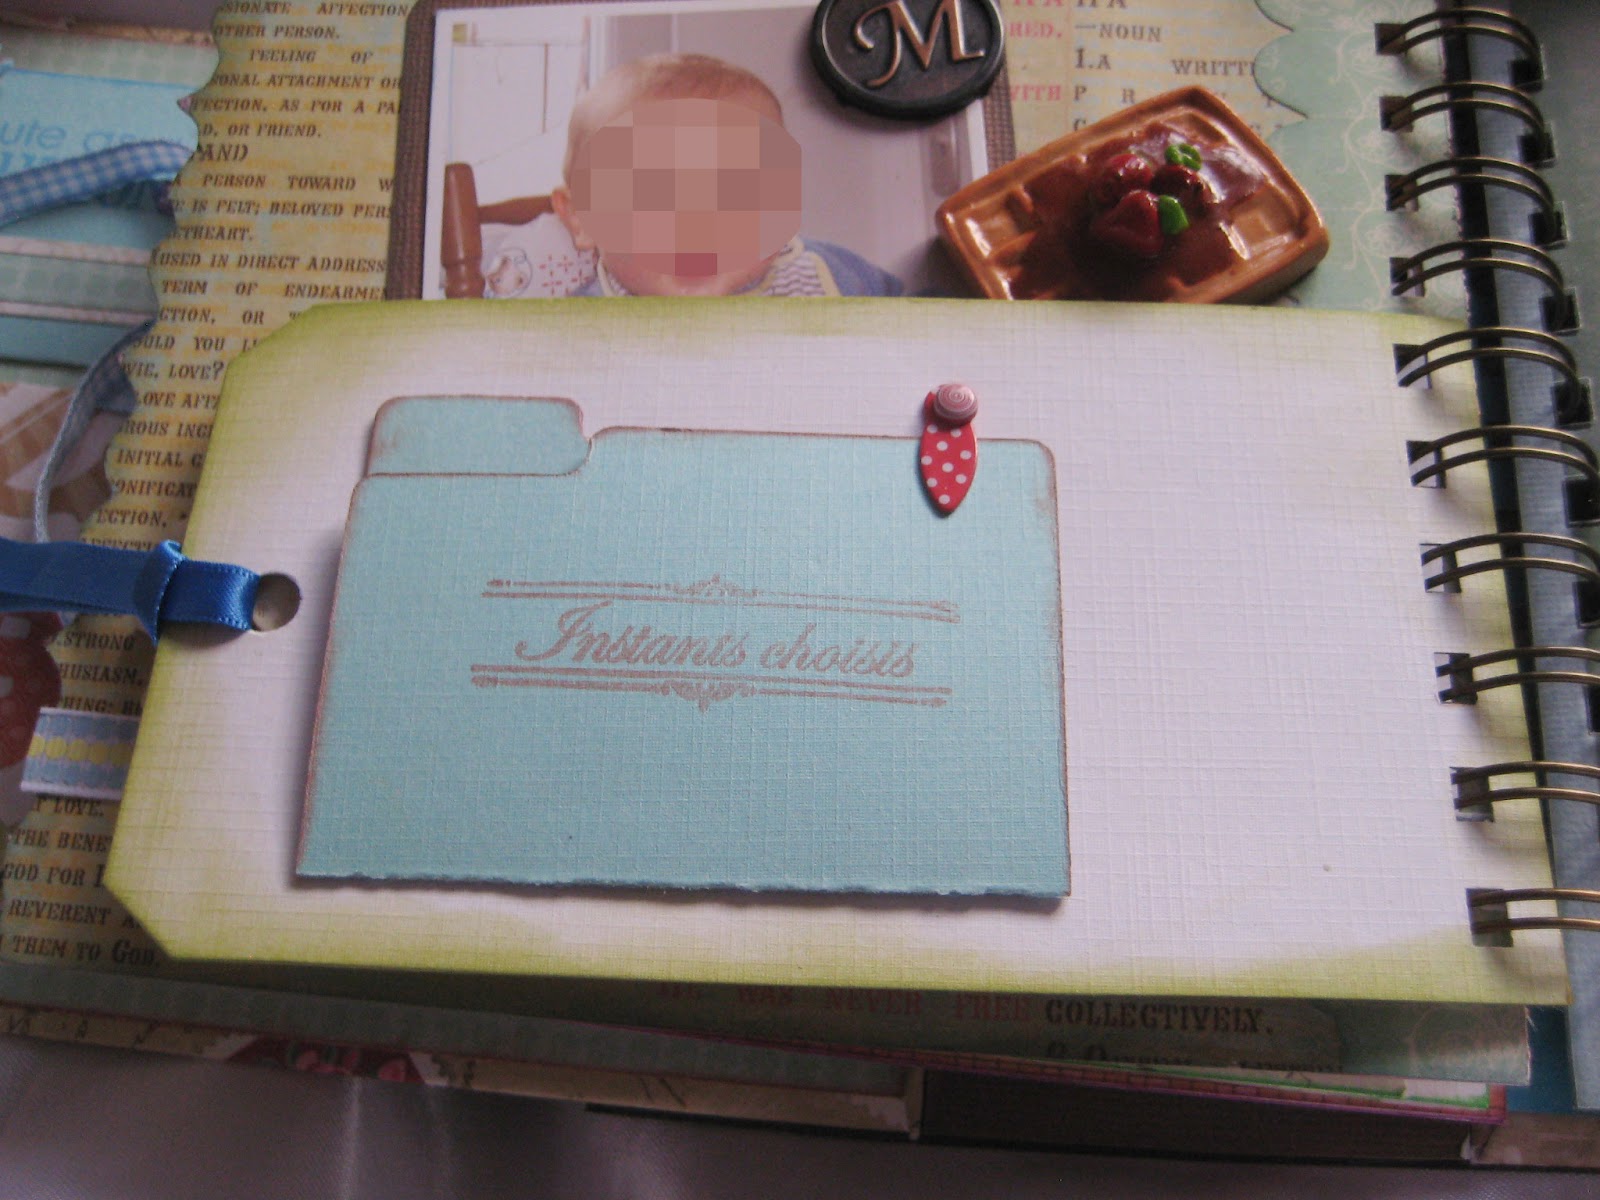
The shoe charm is from my jewellery making stash, the waffle is made out of polymer clay as detailed in a previous post, the wooden flower was bought from a local shop and the letter tag is from Making Memories.
On the back of this tag I added a little file folder cut from the Sizzix die of the same name. I inked the edges in a rust colour stamp and fixed the polka dot closure to stop the folder from falling open.
For this page I made a bead charm and attached it with a baby's foot (Woodware) shaped brad. The lace is from a market find.
This envelop is a piece of card folded in three and opens up to give more journaling space.
This page is like an envelop and inside is this punched tag where a photo could be added or again just journalling.
Well that's it so if you're still here thanks for being so patient and I hope you enjoyed taking a peek! Let me know if you like it!